Perspective View Mode
Introduction
Datasets such as Digital Elevation Models (DEMs) can be viewed in a pseudo-3D
projection to effectively visualize terrain. The perspective tool provides this
capability and gives the user the opportunity to interactively modify the DEM.
Once the model is displayed in the Map Viewer window, make it active in the
Layer Manager and click on ![]() .
.
Display
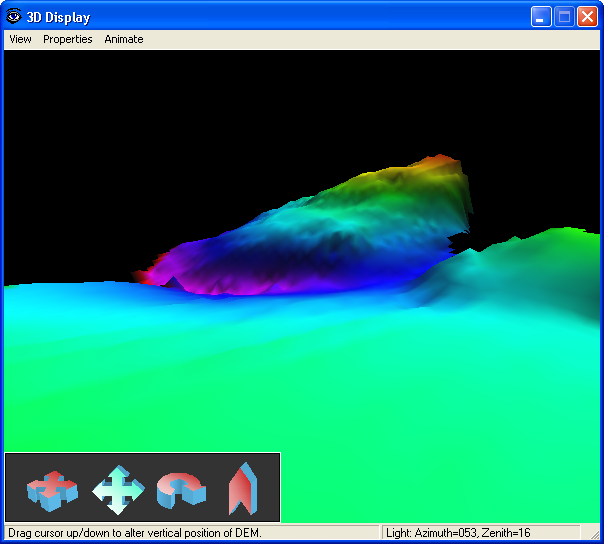
A 3D-display window will appear, with the DEM shown in pseudo-3D perspective. By default, the viewing conditions may not be ideal. To change this, four functions can be accessed to interactively explore the terrain data and arrive at an optimum setting.
Perspective View Controls
There are 4 controls...

From left to right...
If at any time you get lost, you can reset your orientation using the menu bar.
Here is an example view of the surface of an aquifer.

Light Control
The user may change the direction of the light by holding down the right mouse button and moving the cursor either horizontally or vertically. To change the azimuth angle (this is a compass angle from 0 - 360 degrees, where 0 degrees is North), move the cursor to the left and right to alter the angle. To change the zenith angle (this is zero when the light is overhead and 90 when the light is at the horizon) move the cursor up and down. The effect of changing these angles is seen in near real-time.
Light Properties
The light properties can also be changed using the Light Properties menu item under the Properties menu. This facility offers more parameters relating to the light source to produced the desired effect.

Layer properties
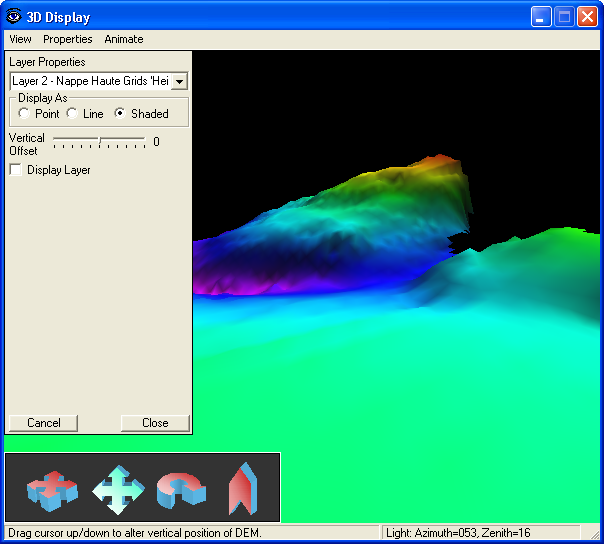
You can change several properties of the layer by selecting the Layer Properties menu item in the Properties menu. The layer can be displayed as points, lines (i.e. wireframe) and shaded.

3D Animation
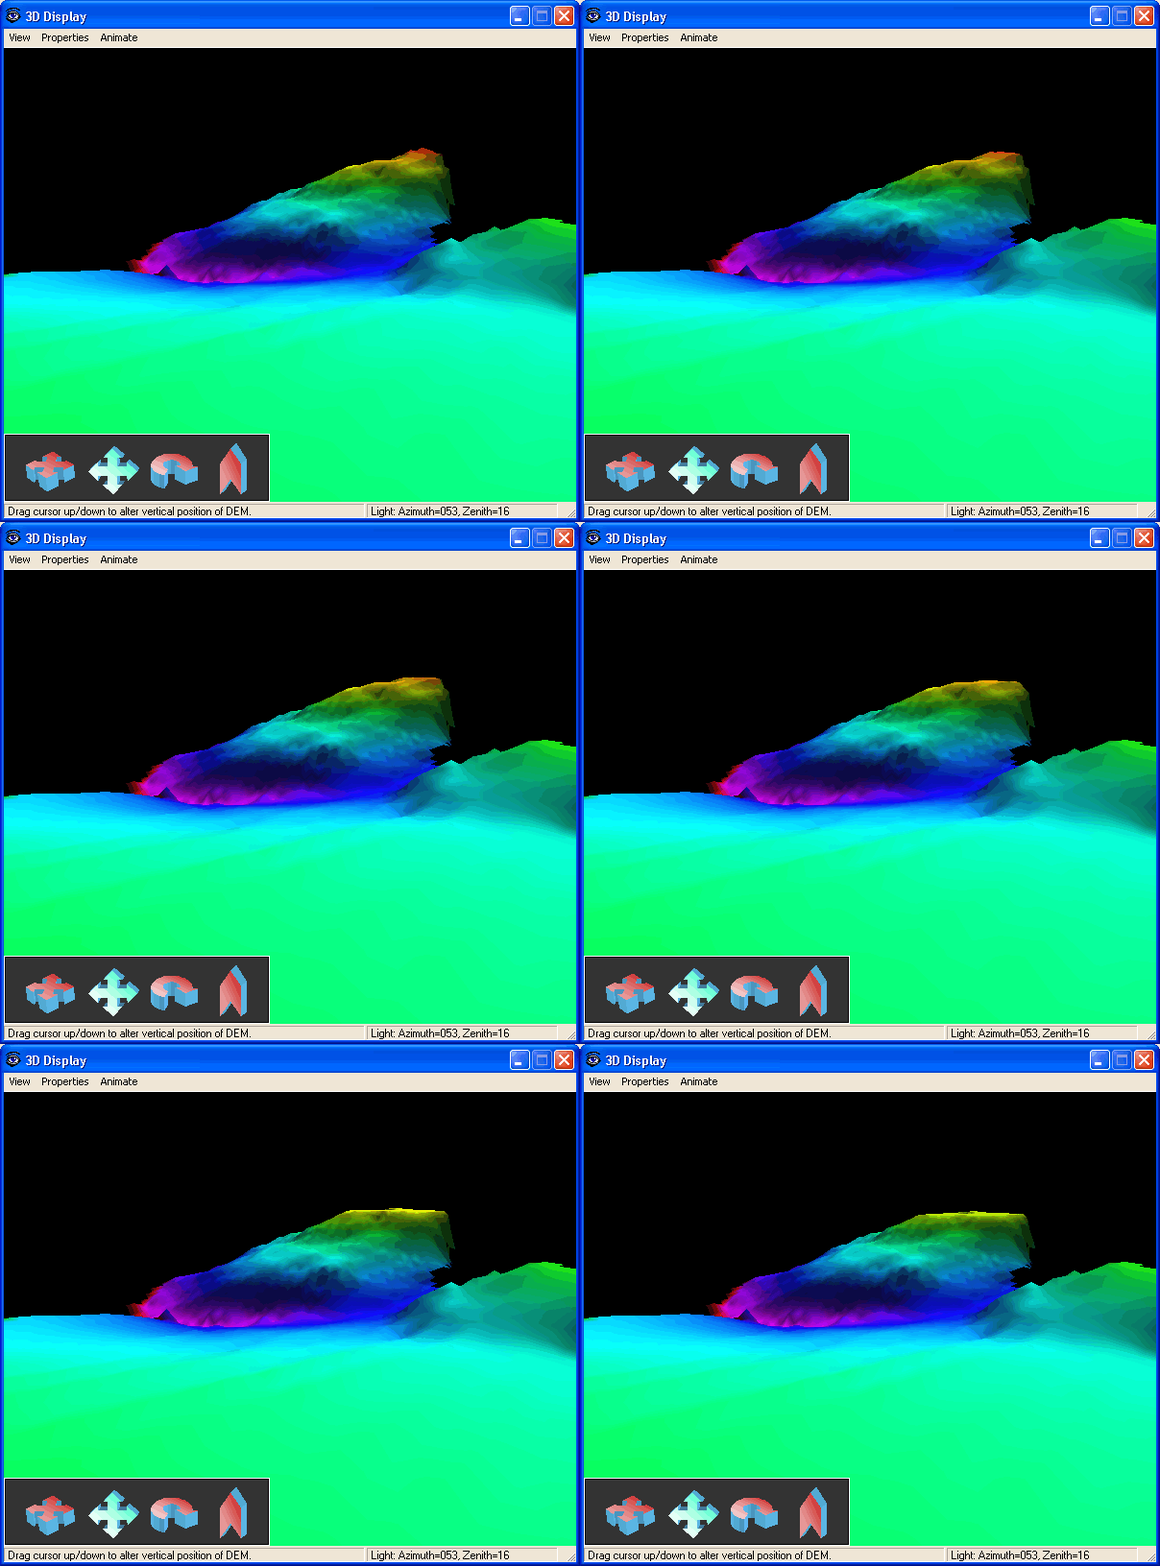
If the input layer includes more than one time slice then the 3D display may be animated to cycle through all time periods. Use the Animate menu to play and pause the animation.

| Browser Based Help. Published by chm2web software. |